Texture Editing (PC)

john smith

Member
The two most common ways are using a texture mod in which you trim the length of the dress using a transparency, or the other is using a hexeditor and simply hiding parts of the outfit you don't want visible. You can sometime tell if someone used a transparency mod because the "hidden" cloth will still cast a shadow. Seeing as I can still see the shadow for Helena's full dress on the ground, my guess is it's the former and a simple transparency edit was done.
that's what I'm talking about though, Helena's dress isn't easily edited like how Kasumi's School uniform dress is, I tried deleting portions of it in gimp and nothing happens, what was done for this to work
 

ChrisArmoun

Well-Known Member
that's what I'm talking about though, Helena's dress isn't easily edited like how Kasumi's School uniform dress is, I tried deleting portions of it in gimp and nothing happens, what was done for this to work
Are you trying to do it by editing the dds file? I do all my transparency mods by simply editing the associated png file. I did this for my Phase 4 edit and I've use it to create unique hairstyles as well
 

john smith

Member
Are you trying to do it by editing the dds file? I do all my transparency mods by simply editing the associated png file. I did this for my Phase 4 edit and I've use it to create unique hairstyles as well
I always edit the DDS file, it's the file format I extract using Umod, you always edit the PNG file, because you can achieve transparency on Phase 4's costume 1 even with the DDS file, see
2015-06-01_00001.jpg

another question, when people edit the face and body textures how the hell do they edit the file when it looks like this
2.PNG

I have to extract the face and body textures in BMP or JPG in order to see what I'm working with, like this
game_W512_H1024_F894720068_T_0X39E1DF33CC08335A.jpg

but when exporting this and putting it back into the game the skin looks like plastic and shiny
I have to do stuff like this in order to keep the skin texture the same
1.PNG

for example here, I edited the lips and eye in JPG format then selected them, copy, and pasted them on to this format, which works great.
is this how everyone does it or am I missing something, I use GIMP by the way
 

ChrisArmoun

Well-Known Member
I always edit the DDS file, it's the file format I extract using Umod, you always edit the PNG file, because you can achieve transparency on Phase 4's costume 1 even with the DDS file, see
View attachment 11706
another question, when people edit the face and body textures how the hell do they edit the file when it looks like this
View attachment 11707
I have to extract the face and body textures in BMP or JPG in order to see what I'm working with, like thisView attachment 11708
but when exporting this and putting it back into the game the skin looks like plastic and shiny
I have to do stuff like this in order to keep the skin texture the sameView attachment 11709
for example here, I edited the lips and eye in JPG format then selected them, copy, and pasted them on to this format, which works great.
is this how everyone does it or am I missing something, I use GIMP by the way
You may be getting a similar result but you're doing it the hard way. With umod there's a check box to choose what types of files to extract. I extract dds and png. With a png file there's no need to worry about format and alpha channels. You can simply erase what you don't want and save. It's not uncommon for the image preview image to look like that, but once you open the file in a compatible software you see it as it's supposed to be. I use Photoshop but I'd be surprised if gimp didn't have a dds plugin of some type. When saving the file, for skin, you have to make sure you choose a DXT5 format to preserve the alpha layers. Doing so will prevent the plastic skin
 

john smith

Member
You may be getting a similar result but you're doing it the hard way. With umod there's a check box to choose what types of files to extract. I extract dds and png. With a png file there's no need to worry about format and alpha channels. You can simply erase what you don't want and save. It's not uncommon for the image preview image to look like that, but once you open the file in a compatible software you see it as it's supposed to be. I use Photoshop but I'd be surprised if gimp didn't have a dds plugin of some type. When saving the file, for skin, you have to make sure you choose a DXT5 format to preserve the alpha layers. Doing so will prevent the plastic skin
yes I'm aware of all the check boxes on Umod, so you're saying that any costume texture can be removed if you're extracting in PNG format. well I guess GIMP doesn't have that plugin in order to see it correctly, I guess I need photoshop, you know where I can get a good version of it
 

synce

Well-Known Member
Well I ran into this old problem again...

bad.jpg


Whenever I try editing around Kasumi's eyes it screws up her entire face (white spots). If anyone has had success with this and has a couple minutes to kill I'd like to make a quick request. Just take the attached face texture and turn it into this:

alpcrop1.png


(dark eye shadow, greyed out eyes, black eyebrows)

Thanks :)
 

Attachments

  • alpha.zip
    778.1 KB · Views: 182

ChrisArmoun

Well-Known Member
Well I ran into this old problem again...

View attachment 11713

Whenever I try editing around Kasumi's eyes it screws up her entire face (white spots). If anyone has had success with this and has a couple minutes to kill I'd like to make a quick request. Just take the attached face texture and turn it into this:

View attachment 11715

(dark eye shadow, greyed out eyes, black eyebrows)

Thanks :)
Hey synce I think I know your problem. I was going to do the mod for you and once I downloaded the rar I see that you have the png file attached. For skin you always want to use the dds file because it carries several underlying layers that need to be preserved. Are you attaching Kasumi's face to Alpha? If so, I'm not sure normal means will work as I've yet to experiment with her
 

synce

Well-Known Member
Hey synce I think I know your problem. I was going to do the mod for you and once I downloaded the rar I see that you have the png file attached. For skin you always want to use the dds file because it carries several underlying layers that need to be preserved. Are you attaching Kasumi's face to Alpha? If so, I'm not sure normal means will work as I've yet to experiment with her

Thanks. Unfortunately dds is not an option since I don't have PS and Gimp won't install on my PC :(

If you're still interested I attached the dds. Would love to see your attempt at this, your mods are amazing and I know you like eyebrows!
 

Attachments

  • alpha-dds.zip
    446.8 KB · Views: 190

ChrisArmoun

Well-Known Member
Thanks. Unfortunately dds is not an option since I don't have PS and Gimp won't install on my PC :(

If you're still interested I attached the dds. Would love to see your attempt at this, your mods are amazing and I know you like eyebrows!
Would you mind telling who the character in the pic is. Also do you want the thick shaped brows like in the image?
 

synce

Well-Known Member
Would you mind telling who the character in the pic is. Also do you want the thick shaped brows like in the image?

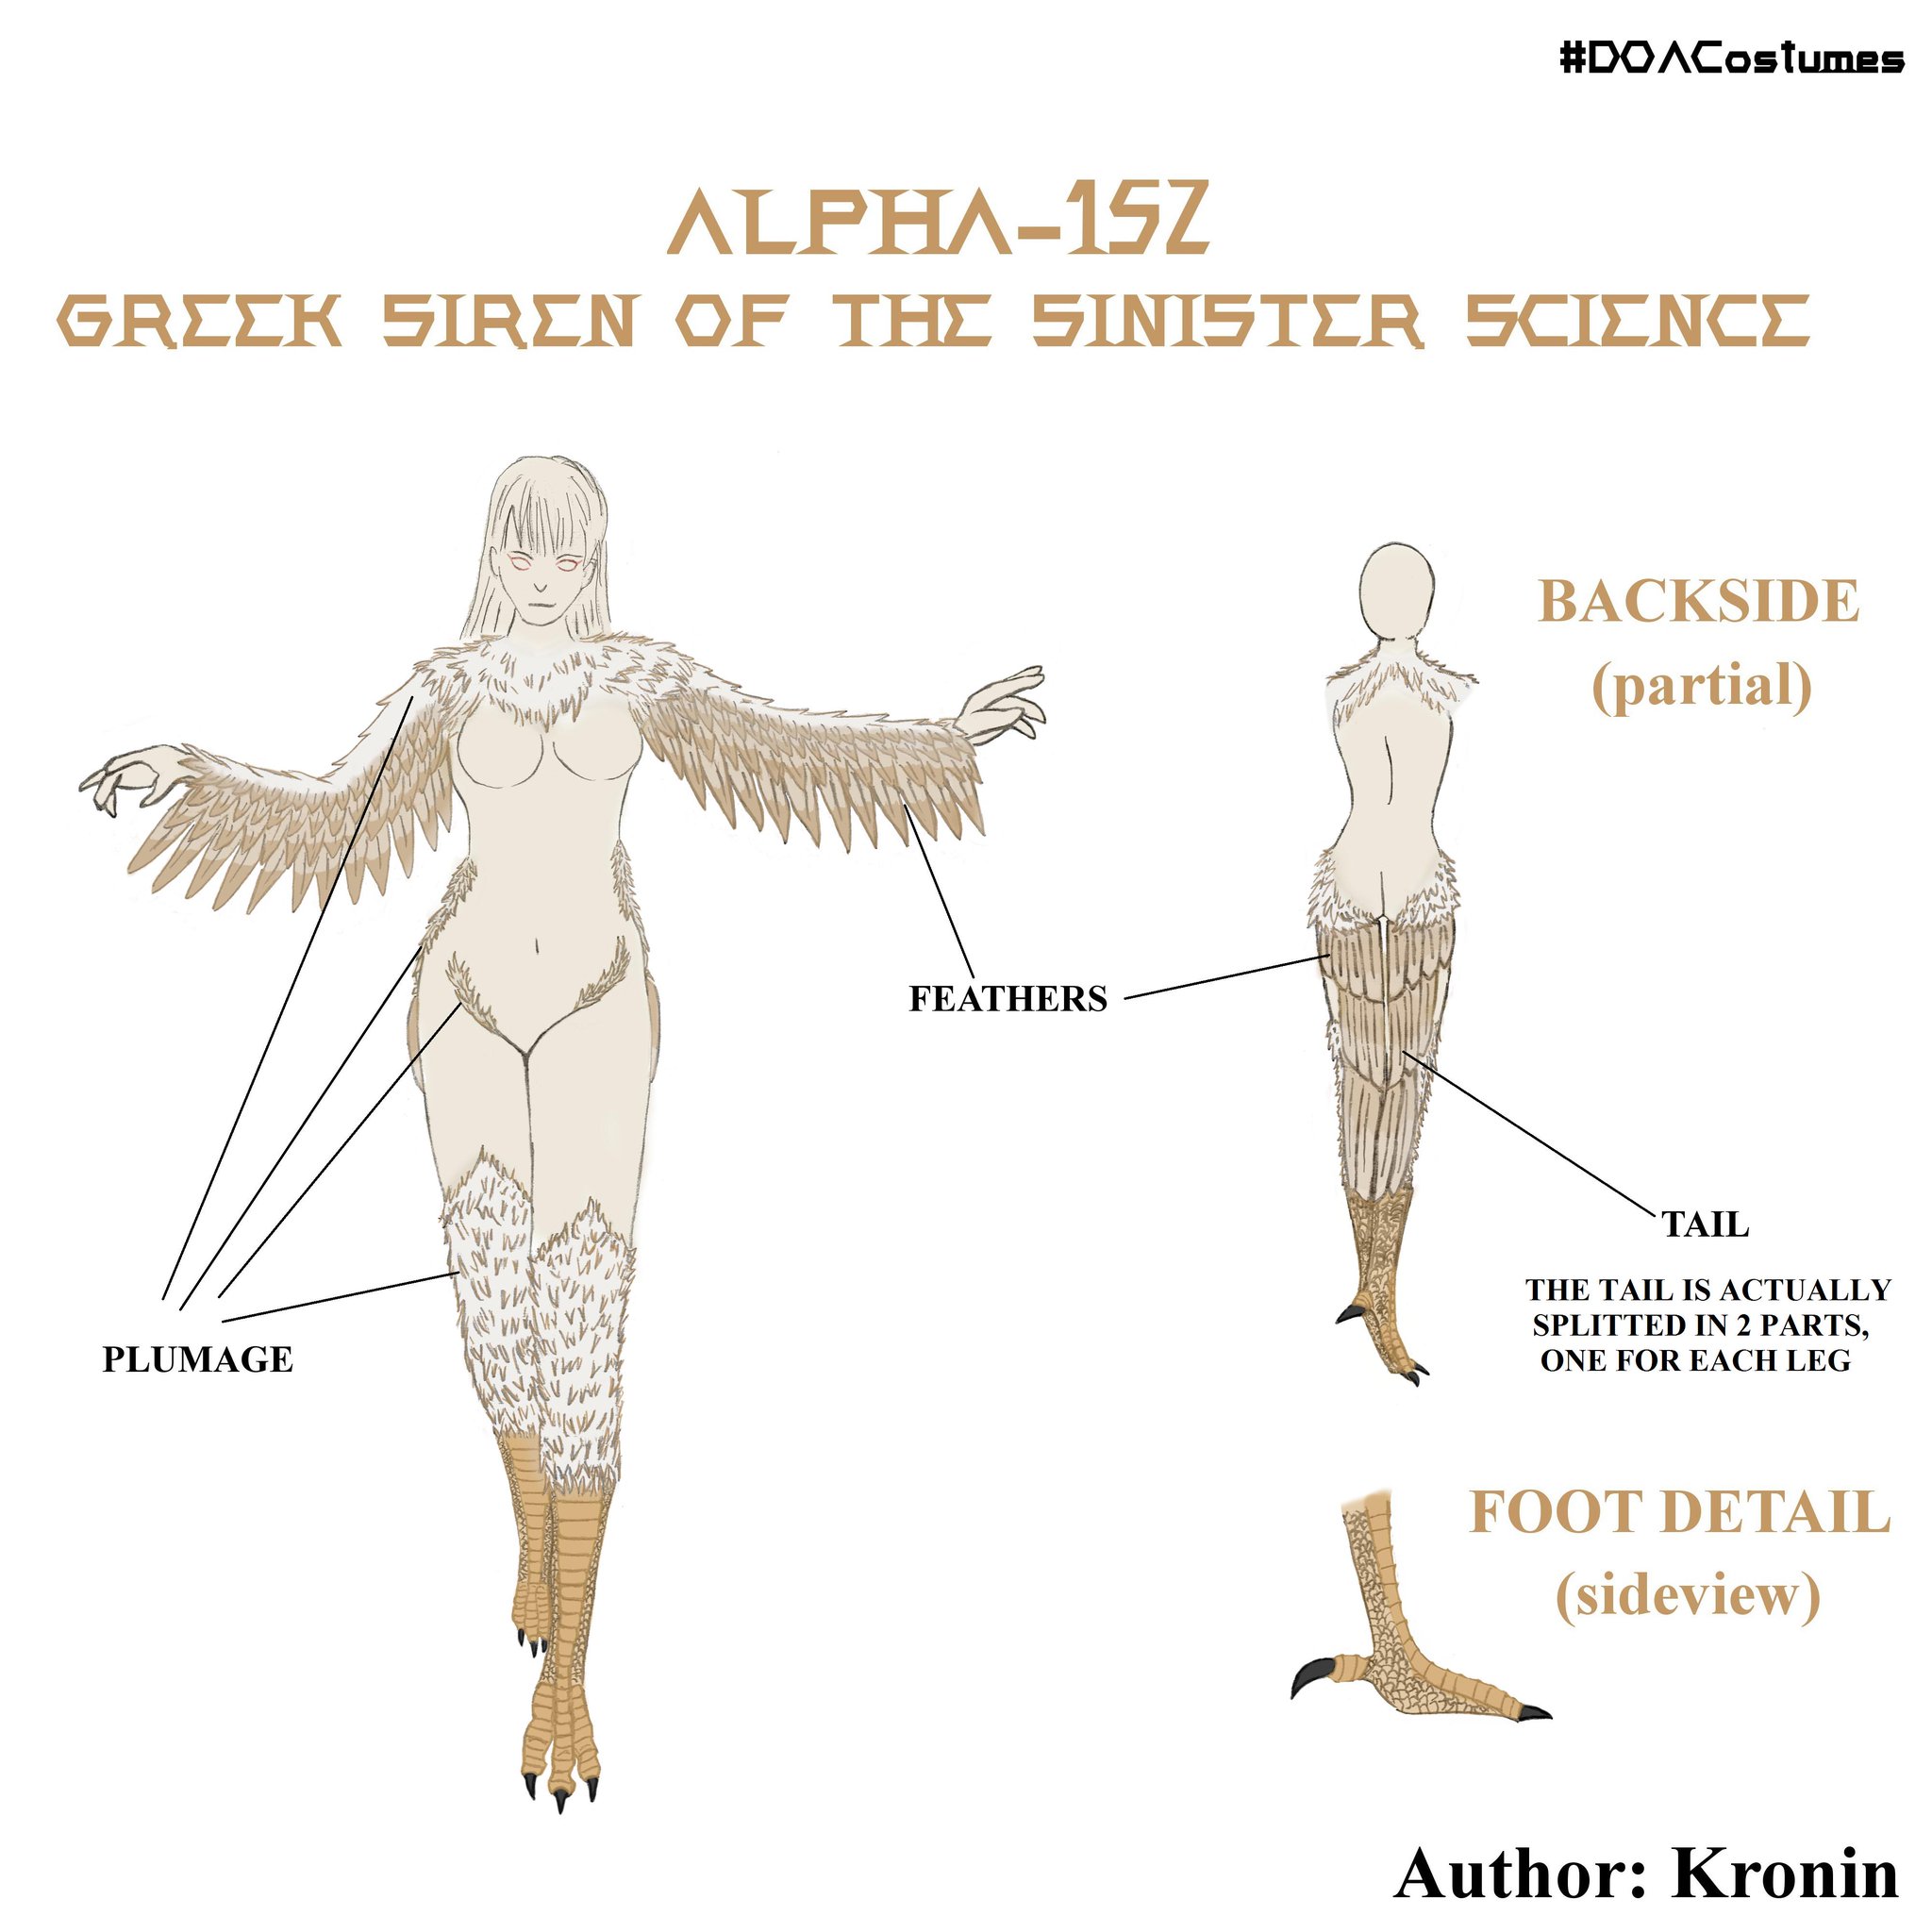
If you can make them even thicker yes that'd be awesome. That's Alpha in the screenshot (someone replaced her model with Kasumi's). If you mean the character in the artwork, that's my fan art/interpretation of Alpha based on Kronin's halloween contest entry for her

CGcjt6ZW0AAva0N.jpg:large
 

ChrisArmoun

Well-Known Member
Here
If you can make them even thicker yes that'd be awesome. That's Alpha in the screenshot (someone replaced her model with Kasumi's). If you mean the character in the artwork, that's my fan art/interpretation of Alpha based on Kronin's halloween contest entry for her

CGcjt6ZW0AAva0N.jpg:large
Here's my first go at it. Decided to leave some definition in the iris area so it isn't completely washed out. There's some gradiants of gray to "separate" the different sections. I also removed the lipstick to match the reference image and of course THICK EYEBROWS
P4Grey.jpg

P4Grey02.jpg
 

Attachments

  • P4Grey01.jpg
    P4Grey01.jpg
    235.5 KB · Views: 248

Ooobe

Active Member
Gorgeoes texture! Just had to say that first.

for skin tat looks mostly transparent when extracted, I use "new layer from visible" 8 or 9 times until I have a working layer that looks 100%. edit away, new layer from visible when done editing, turn everything off except for the last (desired) layer. Reduce visibility to 25% on that layer - it should look like the original that came in at this point - ie 75% transparent. New layer from visible again - now 25 % visibility is 100% on the new layer. That's the layer that gets exported back out to dds. I tend to keep the png as base reference if I want to take something from the original again.
Exporting to dds with mip maps avoids some weird lighting artifacts I find, so that's what I stick to for putting things back in the game. All in GIMP, but I'm pretty confident process should work on whatever.

Still no luck with mirrored normals though - although I did just think of something new to test.
 

john smith

Member
Gorgeoes texture! Just had to say that first.

for skin tat looks mostly transparent when extracted, I use "new layer from visible" 8 or 9 times until I have a working layer that looks 100%. edit away, new layer from visible when done editing, turn everything off except for the last (desired) layer. Reduce visibility to 25% on that layer - it should look like the original that came in at this point - ie 75% transparent. New layer from visible again - now 25 % visibility is 100% on the new layer. That's the layer that gets exported back out to dds. I tend to keep the png as base reference if I want to take something from the original again.
Exporting to dds with mip maps avoids some weird lighting artifacts I find, so that's what I stick to for putting things back in the game. All in GIMP, but I'm pretty confident process should work on whatever.

Still no luck with mirrored normals though - although I did just think of something new to test.

"new layer from visible 8 or 9 times" I do the same thing for skin textures, so by reducing the visibility to 25% does this bring the skin back to it's original looking texture, because you know that when doing the "new layer from visible" process and using that texture only, no visibility reducing, the skin looks like plastic and shiny in game
 
ALL DOA6 DOA5 DOA4 DOA3 DOA2U DOAD
Top