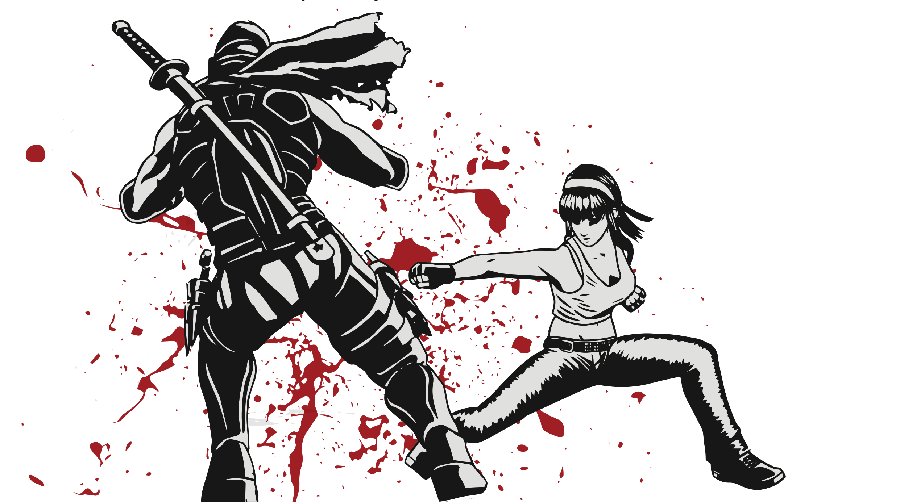
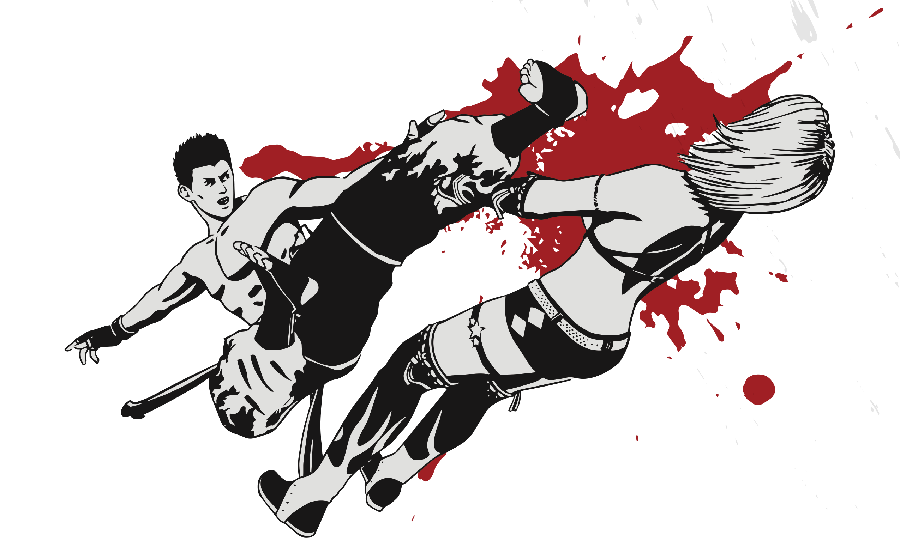
Most types of stuns, except a couple such as Limbo Stuns allow you to SE out and back into the combat. What SE does is reduce the number of frames that you are stunned, effectively reducing the amount of time the opponent has to execute a follow-up attack to extend the stun or start a combo juggle. The best action to take after an SE is to block, since it can throw off the opponent if you SE their stun mix-ups. You might even be able to throw punish something if you SE and block a launcher for instance.
Performing an SE is done by moving the directional stick in circles quickly and continuously in the same direction. The easiest method for performing an SE is to place your thumb in the middle of the D-pad and spin it quickly, or push 3~7 repeatedly. Holding H while performing the SE will ensure you block immediately after. Stagger Escapes can save your life. Do not ignore them and try to make it a habit to utilize them whenever you get stunned instead of mindlessly mashing holds.
Side Steps allow you to dodge linear attacks, or attacks that don’t track horizontally. By pressing either 22/88 or 2H+P+K/8H+P+K (depending on what you have as your SS settings in the Controller section of the Options menu) you can avoid a single linear strike then CH it with one of your SS attacks, such as SS~P or SS~K for example. This is a good method for escaping frame-traps, or pressure if you can predict that your opponent will try to use a certain linear strike on you to try and maintain their offense. SS attacks such as Hitomi’s SS~K can be pretty nasty to the opponent especially if it’s being used to CH a linear attack which the SS avoided.
As you could guess, SS’s are great for dealing with opponents that try to pressure you with the same linear strikes, or just for harassing Kokoro or Ein players for shits and giggles. However don’t go SSing all willy-nilly now, because there are numerous tracking moves to keep your SS’s in check such as moves with tracking like Ayane’s 4P, and throws. Also note that most follow-up attacks in a string such as the 2nd hit of Christie’s 6PPPP can “re-track” into your character snuffing an SS attack attempt, which quite frankly is annoying as hell, but it is what it is.

Crushes are moves that avoid and riposte opposing strikes due to the sequenced animation. There are high and low crushes. For example, Gen Fu’s 3P is a High Crush and it is a mid attack that goes under a high attack and some horizontal mid attacks, it will avoid being hit by the attack and follow up with a free hit. Ayane’s 9K and 236K are examples of low crush moves that have tech-jumping frames, allowing them to beat out lows. When you’re at a slight disadvantage, you can abare your opponent most effectively with a crush or SS. Essentially an attack with evasive properties, abare generally means “attacking when the opponent thinks you’re weak”, i.e. attacking from disadvantage.
Tech Rolls allow you to recover from the ground almost instantly by pressing any button right before you hit the floor, preferably by tapping H to be ready for a block if need be. This prevents the combatant from getting those pesky pounces and ground punishers on you and puts you right back into action. You can also do a rising recover only if you are still prone, by holding Back and H to step back as you get up or Forward and H to step forward as you get up.
When performed correctly, a Fuzzy Guard, should be able to defend against throw attempts and block mid-strikes, effectively option-selecting certain mix-up situations with a single defensive response. Fuzzy Guards are performed by inputting 33H or 334. This is combining a crouch dash (inputted with 33), and a block (inputted with H or 4). What you’re doing is crouching the throw attempt and blocking a mid strike by manipulating the frames of a partial crouch to go under throws, while still being able to recover fast enough to block an incoming mid strike. Fuzzy Guards aren’t easy and require impeccable timing and practice to be effective. An example of when a Fuzzy may be used is to defend against Momiji’s Tenku, double jump mix-ups. If timed correctly, the Fuzzy Guard will go under the High K and the Tenku T, and will block the Mid P. Basically, you’re defending against all the Tenku options by using the Fuzzy Guard as an option select here. Note that if your character has a 3H parry, you’ll need to use 334 for your Fuzzy Guards to avoid accidentally tossing out a mid parry.

